|
文章目录
前言1. 设置elasticsearch账户密码,并且允许外部访问2. 设置kibana账户密码3. logstash配置账号密码
前言
今天在linux服务器上搭建elasticsearch索引库,但这段时间正在搞护网行动,所以elasticsearch和kibana就不能裸奔了,所以这篇文章我写了如何设置账户密码
elasticsearch 使用版本7.6.2kibana 使用版本7.6.2
1. 设置elasticsearch账户密码,并且允许外部访问
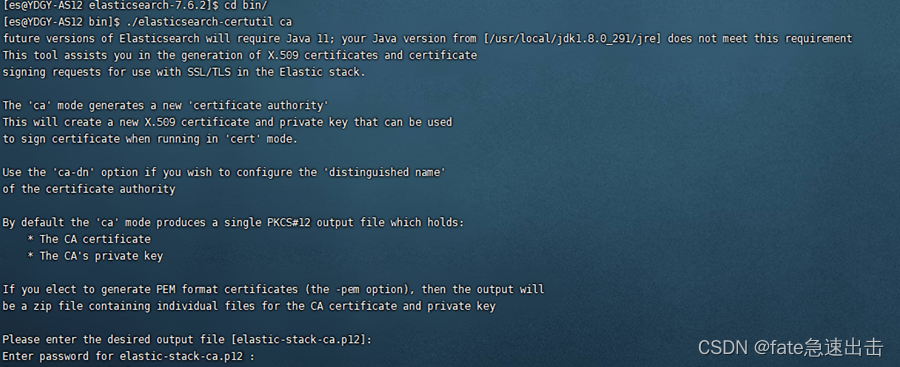
生成CA证书 bin目录下执行
# 如果不配置证书的话启动elasticsearch会报这个错
io.netty.handler.codec.DecoderException: javax.net.ssl.SSLHandshakeException: No available authentication scheme
./elasticsearch-certutil ca
# 提示设置密码直接回车就行
cd ..
ls #这里在elasticsearch根目录已经可以看到 elastic-stack-ca.p12这个文件了

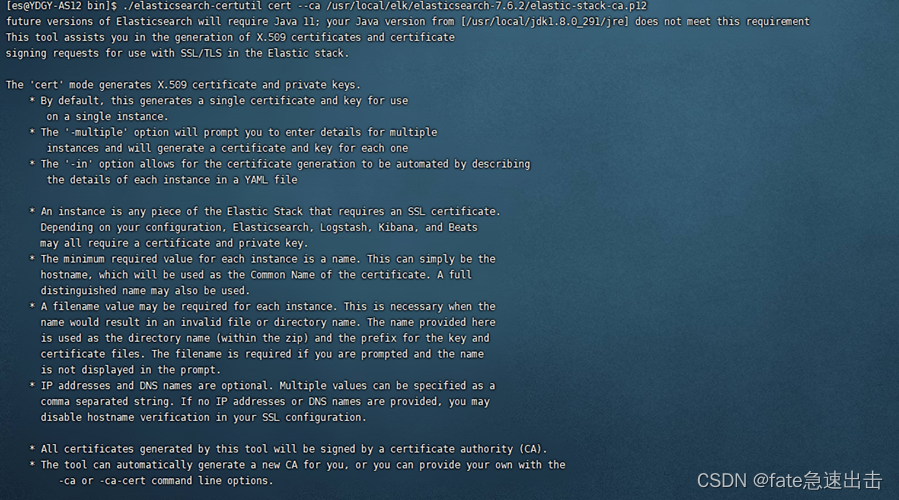
然后使用刚刚生成的证书,生成p12秘钥 ,进入bin目录执行
./elasticsearch-certutil cert --ca /usr/local/elk/elasticsearch-7.6.2/elastic-stack-ca.p12
# 提示设置密码直接回车就行
 回到elasticsearch根目录,可以看到生成了elastic-certificates.p12这个文件 回到elasticsearch根目录,可以看到生成了elastic-certificates.p12这个文件 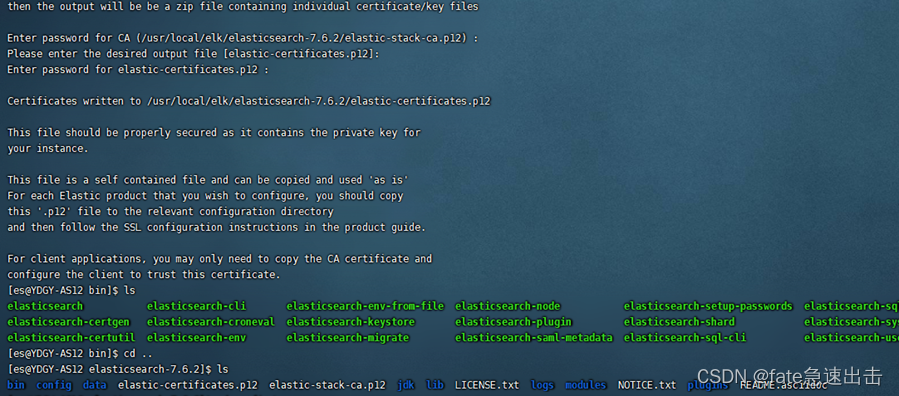
# 进入/elasticsearch
cd /config
mkdir certs
cp /usr/local/elk/elasticsearch-7.6.2/elastic-certificates.p12 certs #拷贝
修改 elasticsearch.yml
# ------------------------------------ Node ------------------------------------
#
# Use a descriptive name for the node:
#
node.name: node-1
#
# Add custom attributes to the node:
#
#node.attr.rack: r1
#
# ---------------------------------- Network -----------------------------------
#
# Set the bind address to a specific IP (IPv4 or IPv6):
#
network.host: 0.0.0.0
#
# Set a custom port for HTTP:
#
http.port: 9200
#transport.host: localhost
#transport.tcp.port: 9300
#
# For more information, consult the network module documentation.
#
# ---------------------------------- Discovery -----------------------------------
cluster.initial_master_nodes: ["node-1"]
xpack.security.enabled: true
#xpack.licence.self_generated.type: basic
xpack.security.transport.ssl.enabled: true
xpack.security.transport.ssl.verification_mode: certificate
xpack.security.transport.ssl.keystore.path: certs/elastic-certificates.p12
xpack.security.transport.ssl.truststore.path: certs/elastic-certificates.p12
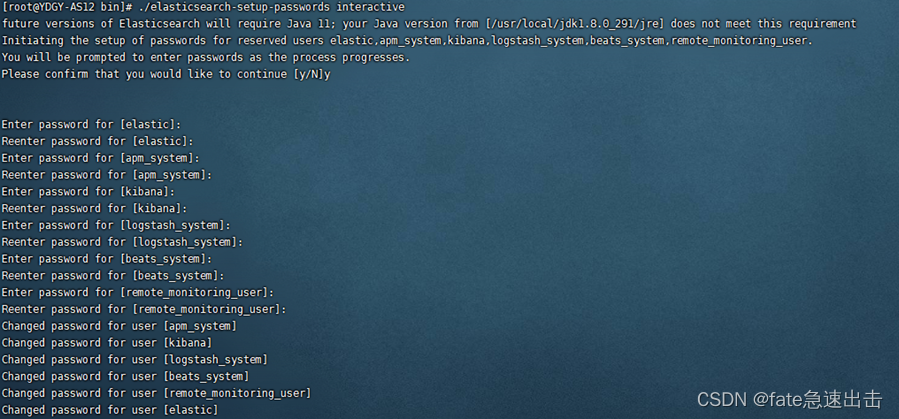
修改完配置文件之后重新启动elasticsearch
./elasticsearch-setup-passwords interactive # 在elasticsearch/bin目录下执行该命令,设置密码
 将elasticsearch的9200端口对外开放,这里我直接关闭防火墙 将elasticsearch的9200端口对外开放,这里我直接关闭防火墙
systemctl stop firewalld
下图所示,这里我外部已经可以访问9200了,并且访问需要账号密码
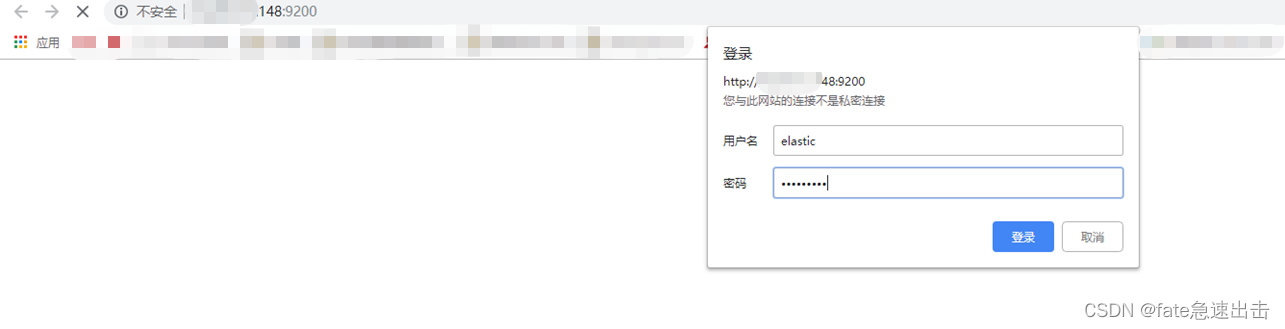 外部访问成功 外部访问成功 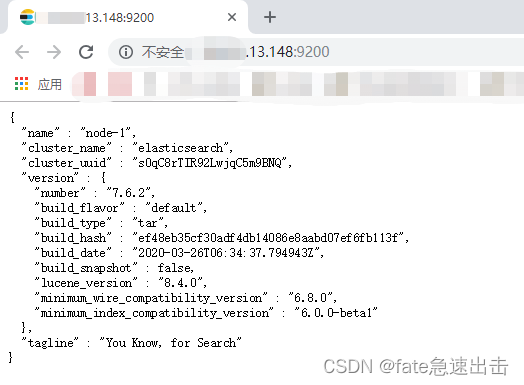
2. 设置kibana账户密码
编辑 kibana.yml
# The URLs of the Elasticsearch instances to use for all your queries.
elasticsearch.hosts: ["http://localhost:9200"]
# When this setting's value is true Kibana uses the hostname specified in the server.host
# setting. When the value of this setting is false, Kibana uses the hostname of the host
# that connects to this Kibana instance.
#elasticsearch.preserveHost: true
# Kibana uses an index in Elasticsearch to store saved searches, visualizations and
# dashboards. Kibana creates a new index if the index doesn't already exist.
#kibana.index: ".kibana"
# The default application to load.
#kibana.defaultAppId: "home"
# If your Elasticsearch is protected with basic authentication, these settings provide
# the username and password that the Kibana server uses to perform maintenance on the Kibana
# index at startup. Your Kibana users still need to authenticate with Elasticsearch, which
# is proxied through the Kibana server.
elasticsearch.username: "elastic"
elasticsearch.password: "123546"
重新启动kibana ,访问已经需要登录了 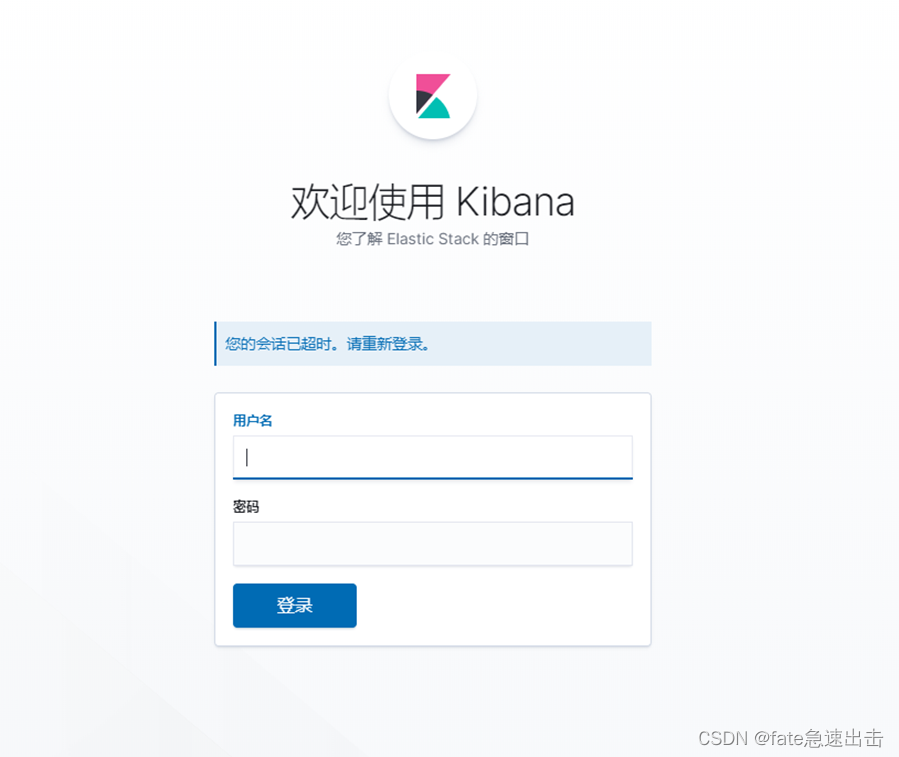
3. logstash配置账号密码
output {
elasticsearch {
hosts => ["http://127.0.0.1:9200"]
user => "elastic"
password => "123456"
index => "%{[fields][servicename]}-%{+yyyy.MM.dd}"
}
}
|